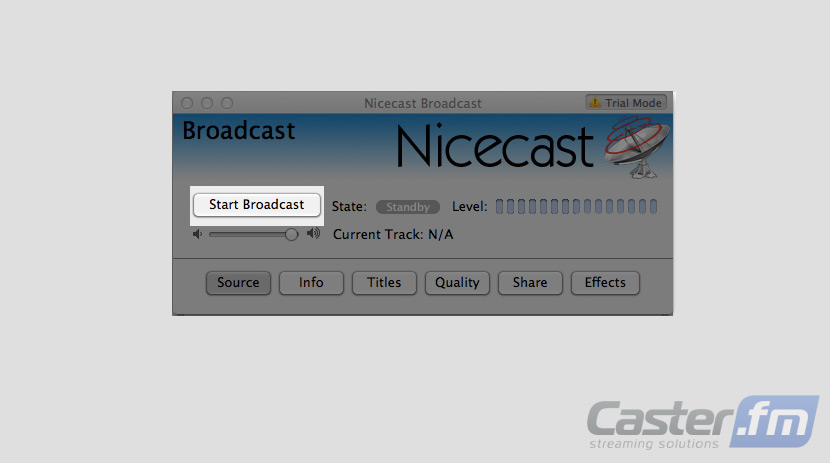
If you plan on using your MAC computer than you'll likely want to use the NiceCast broadcaster. This is a simple to use, yet very powerful audio player and broadcaster designed specifically for the MAC. To get started with this option simply follow the below instructions:
1) Download and Install NiceCast
To get started you need to download and install the NiceCast software.
This is conveniently located within the downloads tab on your control panel.
Following these step by step instructions you can have this software installed in just a few minutes.
Browse to the downloads tab of your control panel.
Find NiceCast and download it.
Follow the install instructions for NiceCast
Once the installation is complete move on to the next step 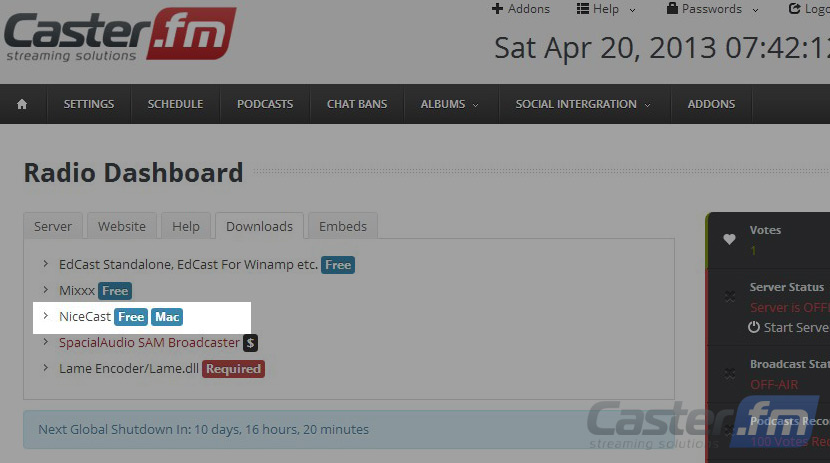
2) Starting Your ShoutCast Server and Configuring NiceCast
Once you've got NiceCast completely installed you simply need to start your server and configure NiceCast to broadcast through it. This is a quick process which will only need to be done once so follow these simple instructions:
Log in to the Caster.FM control panel using the username and password provided to you.
Click the “Start Server” button
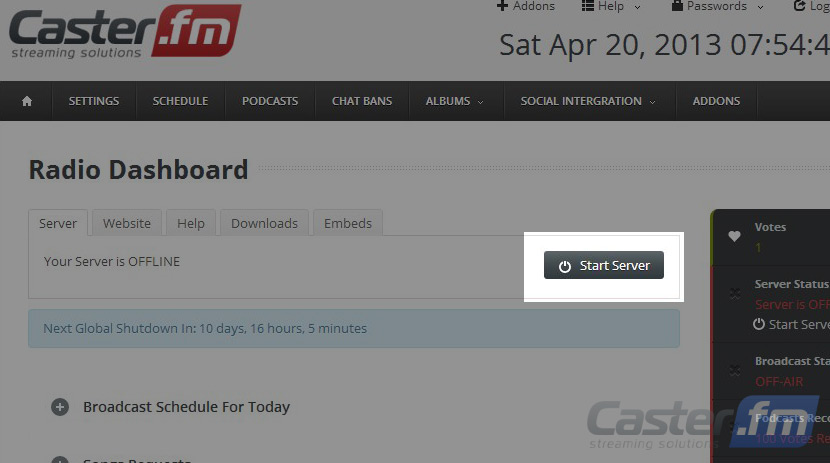
Now that your server is online and ready to broadcast you will see a variety of broadcasting settings.
Launch NiceCast and Chose the source of your broadcast
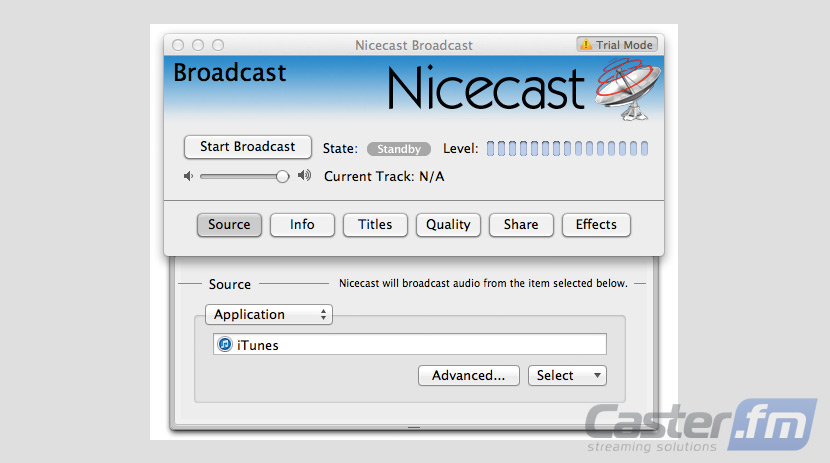
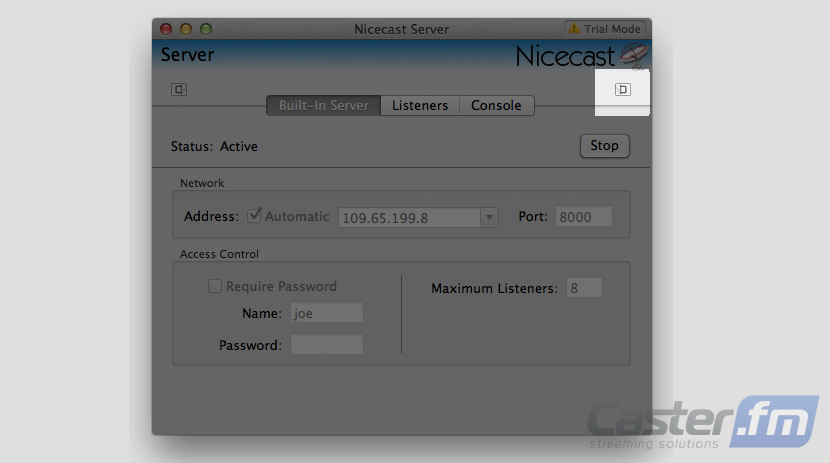
Open the Server window (shortkey: "cmd + 2") and click on the external drawer.
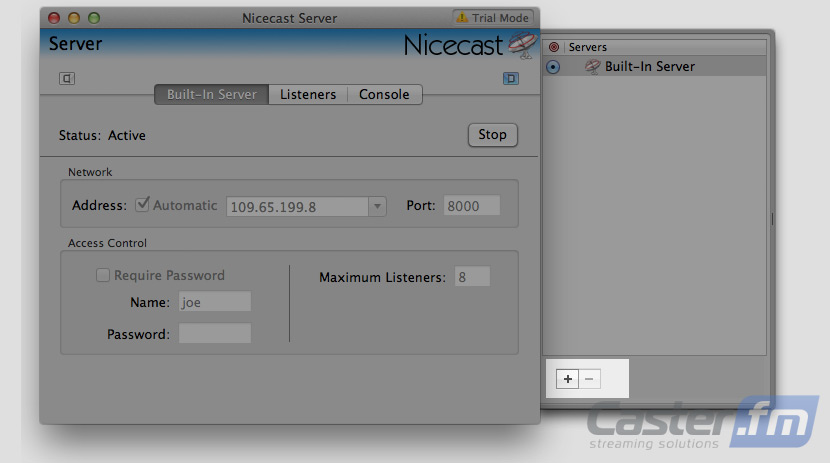
Choose “Create New Server” (the plus sign)
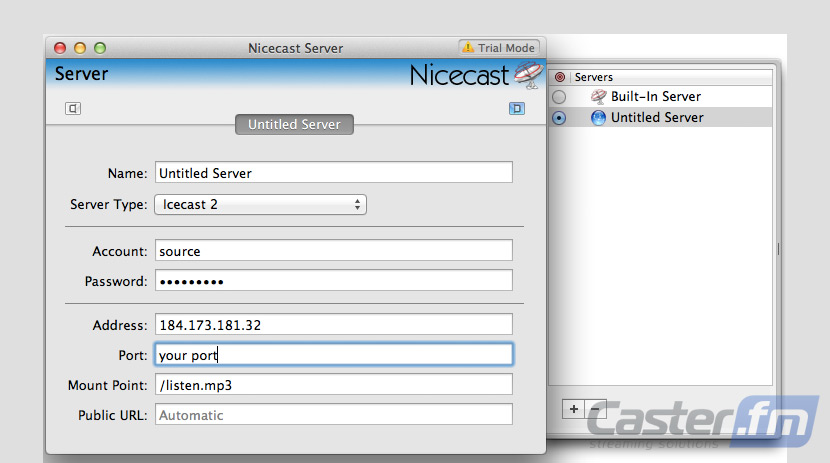
Fill out each section as follows:
Name: Choose a name for your server
Server Type: Icecast 2
Account: source
Password: The password provided on your control panel
Address: The IP address provided on your control panel
Port: The port provided on your control panel
Mount Point: /listen.mp3
Public URL: (Leave Automatic)
Click the Start Broadcast button in the broadcast window and you're on the air live!
